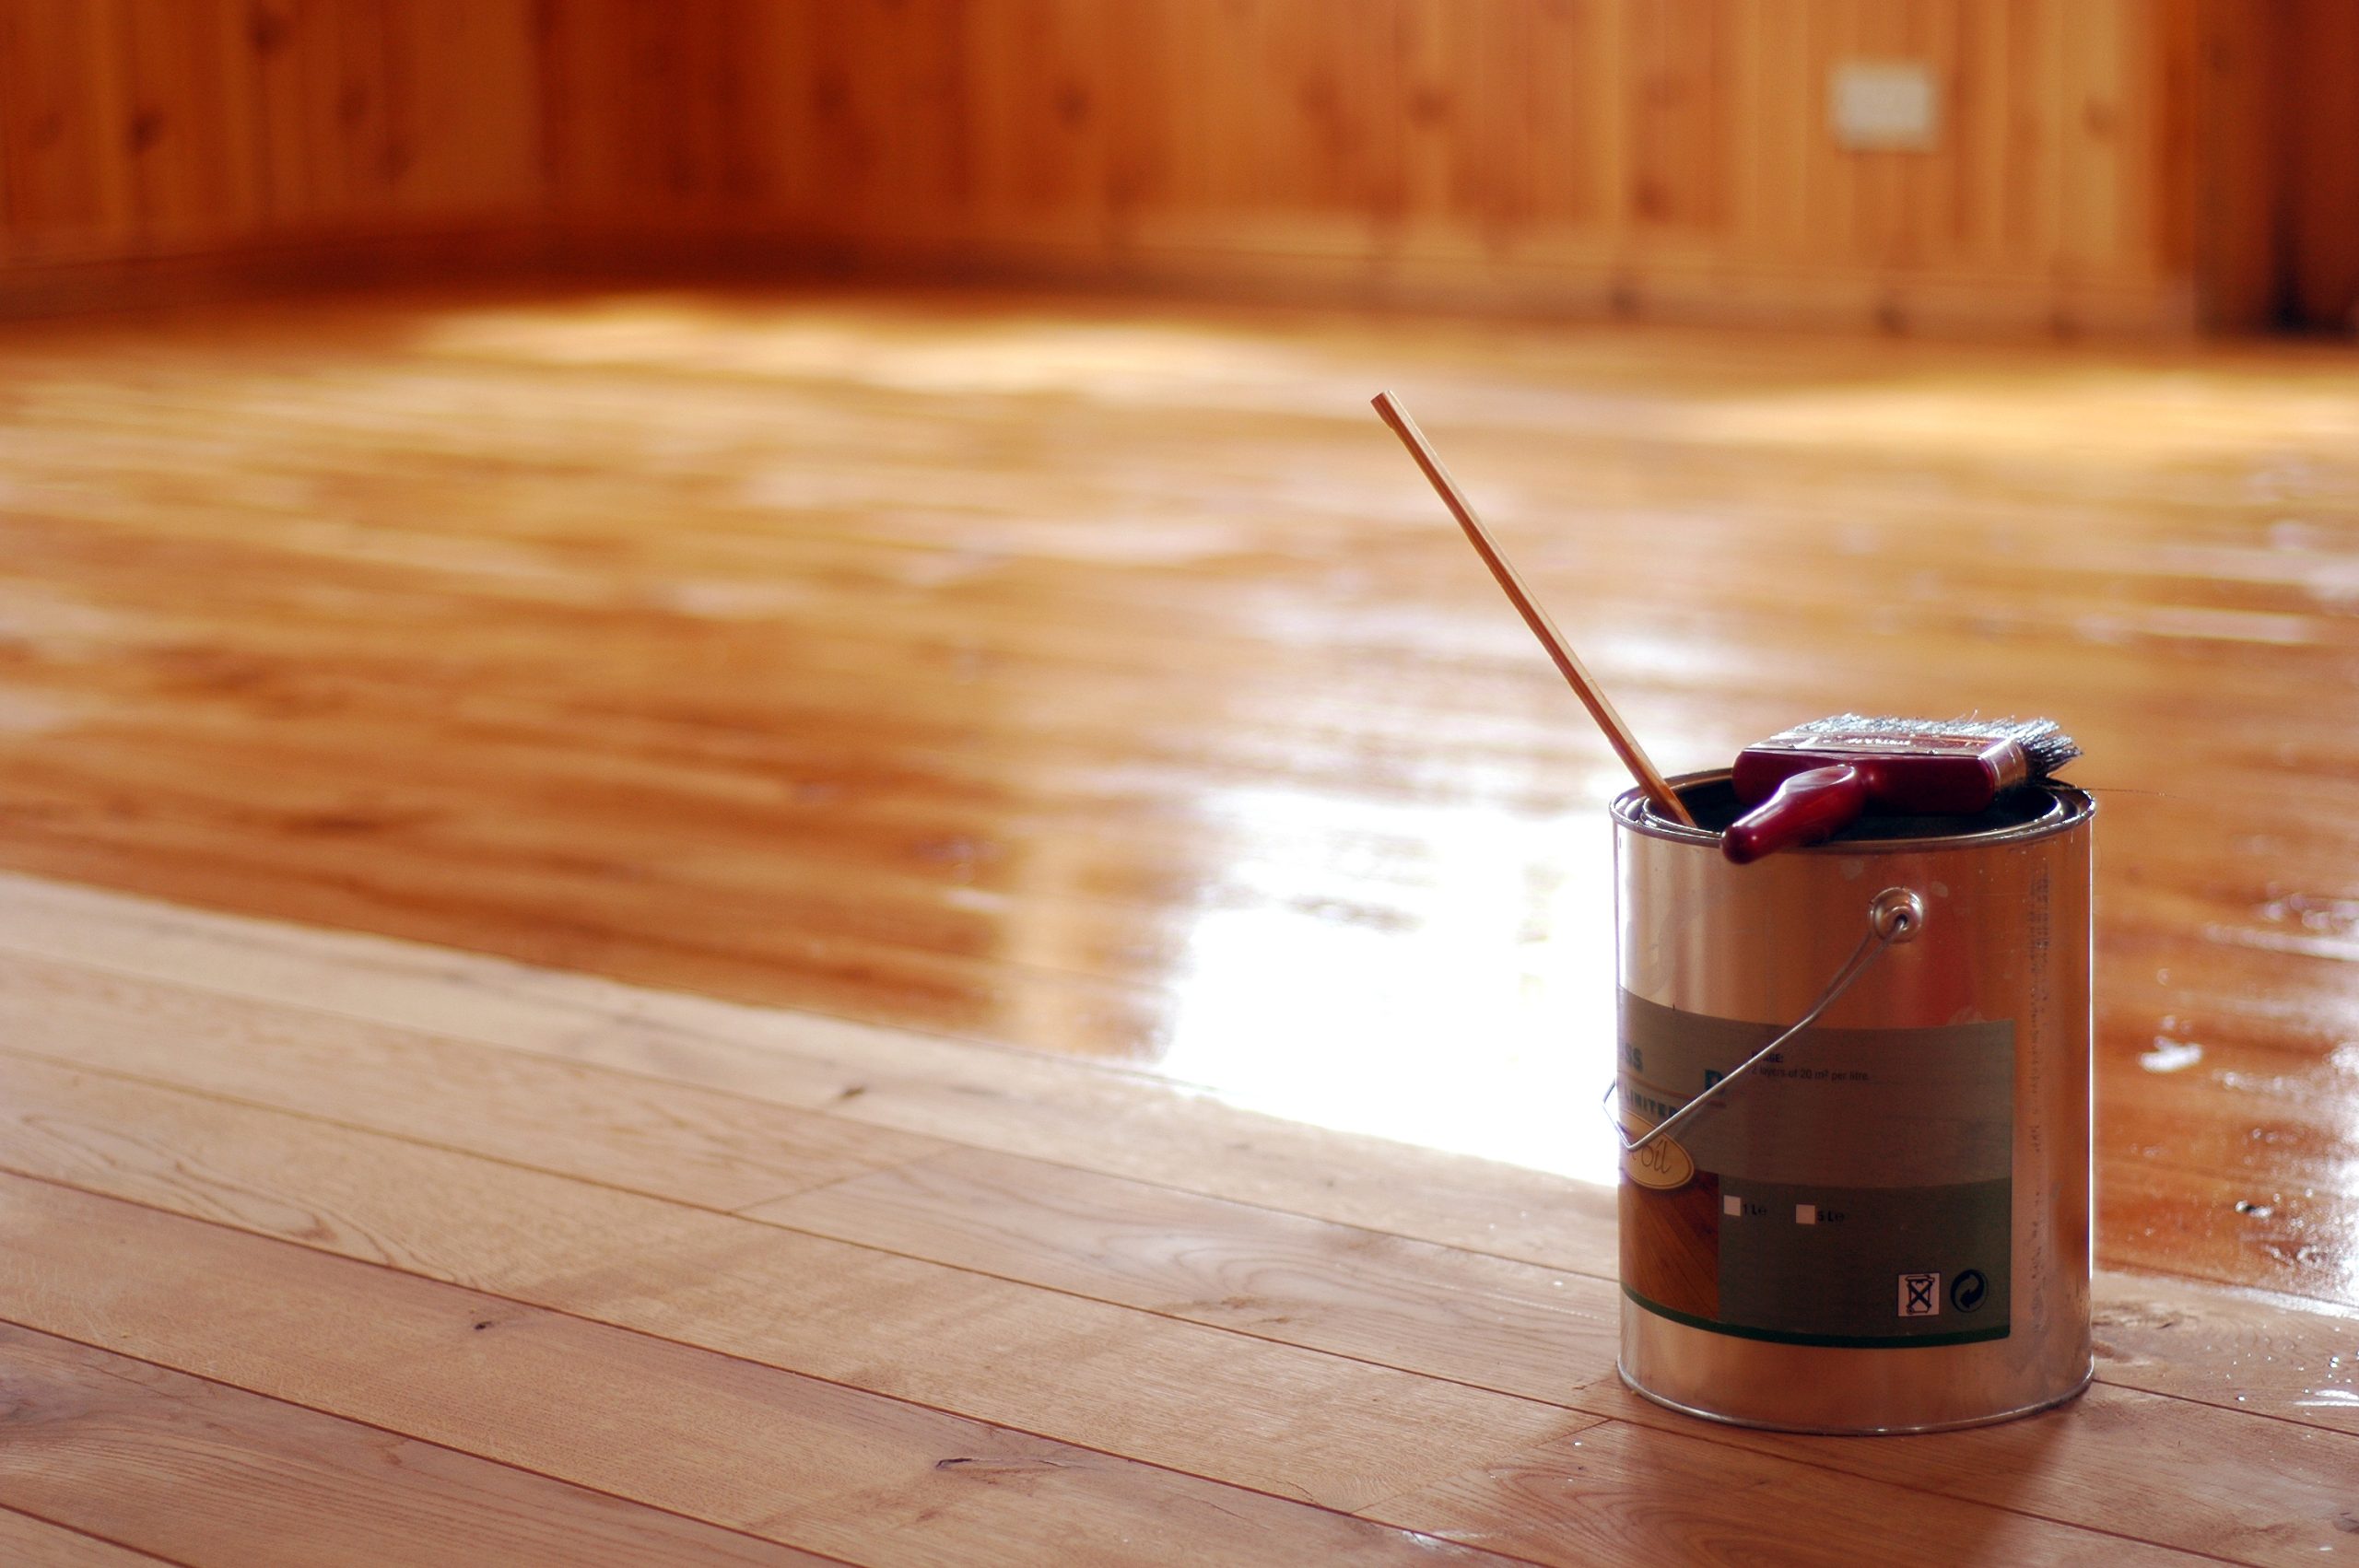
Transform Dull Patches into a Calm, Satin Sheen
Scuffs by the front door, pale traffic lanes where the sun hits hardest, and that one mysterious ring left by a pot plant… wooden floors collect little imperfections that quietly nibble away at your home’s polish. When you don’t need a full sand-and-refinish, wax can be the quiet hero—masking hairline scratches, mellowing out dull patches and restoring a soft, low-sheen glow that looks cared-for rather than “done”. In this guide, we’ll show you when wax is the smart choice, what it can (and can’t) achieve, how to do it properly, and how to keep the results looking handsome for months.
Before we roll up our sleeves, note that our approach to small, swift restorations—what we call spot-and-sheen—aligns with the ethos behind our Furious Fixes method: deliberate preparation, minimal product, maximum finesse.
When wax is the smart choice (and when it isn’t)
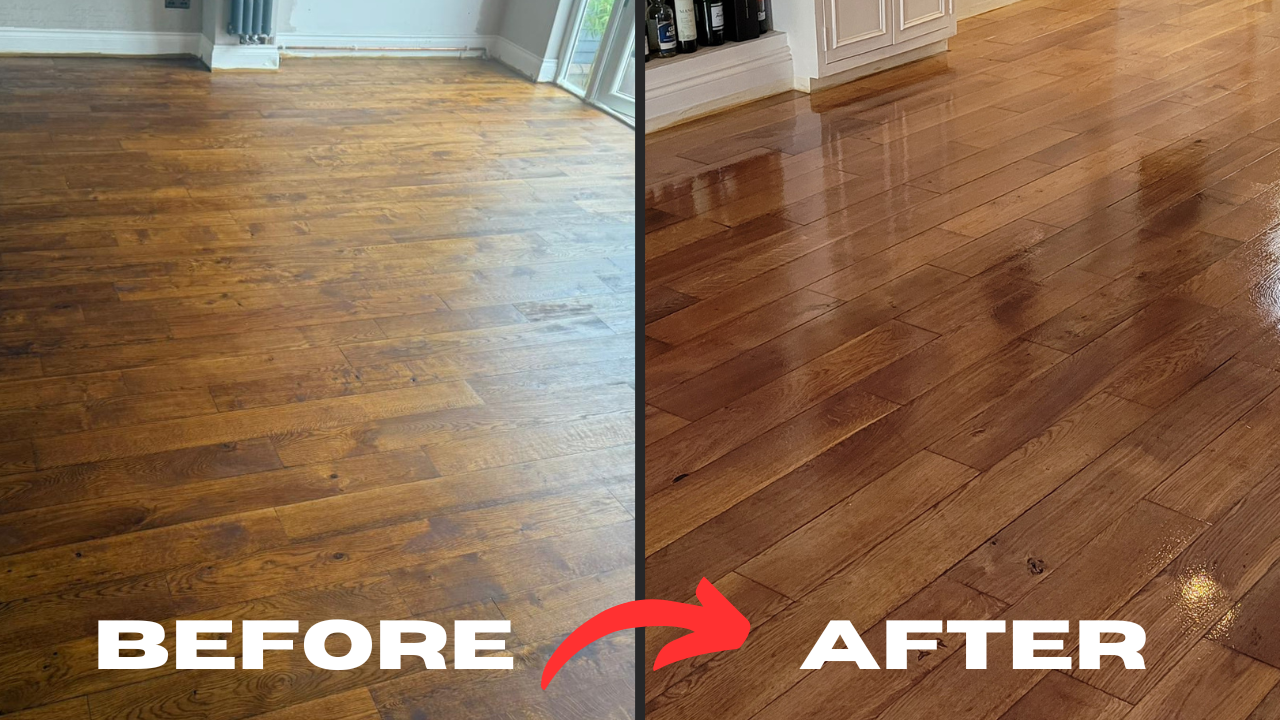
Wax is best treated as a cosmetic and protective topcoat that improves appearance and feel rather than a structural repair. Think of it as a superb way to tidy up light wear and unify sheen.
Ideal scenarios for wax
- Hairline surface scratches that catch the light but don’t cut through to bare timber.
- Dull, traffic-worn lanes in hallways and kitchens that have lost their lustre.
- Minor colour unevenness after furniture moves or rugs are lifted.
- Low-sheen preferences where a subtle satin or matte glow is the goal.
- Tactile improvement—waxed floors feel beautifully soft underfoot.
Situations to avoid
- Deep gouges, broken boards, or open splits. Those demand repair, not cosmetics.
- Water damage, black iron stains, or pet urine marks that have penetrated: these need stain removal or sanding.
- Modern lacquered (polyurethane) finishes that you plan to recoat later; wax can interfere with adhesion.
- Oiled floors still curing—wait until the oil is fully hardened per manufacturer guidance.
If you’re unsure of your existing finish, do a discreet solvent patch test: a rag lightly moistened with meths (methylated spirits) softens shellac; white spirit will slightly dull fresh oil; lacquers generally shrug off both. If the finish beads and refuses to respond, you may be dealing with a tough lacquer that’s not ideal for waxing.
The results you can expect
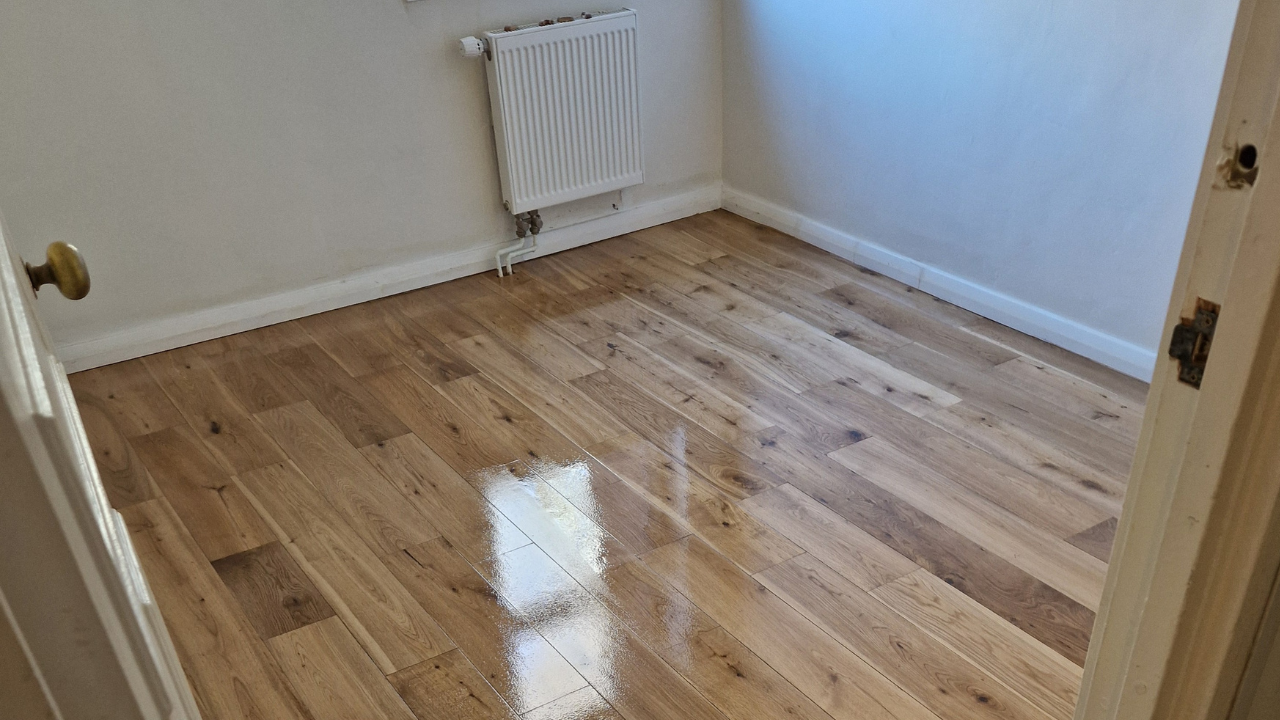
Wax works by filling micro-scratches, levelling out micro-texture, and imparting a uniform sheen that gently diffuses reflections. Properly buffed, it creates:
- Visual blending: scratches and heel marks fade into the grain.
- Colour deepening: tones look richer without looking plastic.
- Silky slip: a floor that glides without feeling slippery.
The lifespan of a wax spruce-up depends on traffic. Hallways and kitchens typically need light maintenance every 3–6 months; bedrooms and lounges often go 6–12 months.
Choose the right product: paste, liquid, or hardwax oil?
Not all “waxes” are the same. Picking the right one is half the battle.
Traditional paste wax
- What it is: a blend of waxes (often carnauba for hardness and beeswax for warmth) in a soft solvent base.
- Finish: low to satin sheen with classic “hand-rubbed” character.
- Best for: period floors, parquet, and areas where a soft, traditional look fits.
- Pros: beautiful glow, easy to spot-repair.
- Watch-outs: needs elbow grease, can reveal swirl marks if poorly buffed.
Liquid wax / maintenance polish
- What it is: a thinner, easy-spread formulation, sometimes in spray or squeeze bottles.
- Finish: light restorative sheen.
- Best for: quick spruce-ups, ongoing maintenance.
- Pros: fast to apply, great for large areas.
- Watch-outs: easier to over-apply; watch for residue build-up.
Hardwax oil (for context)
- What it is: a penetrating oil with waxes that dries to a tougher film than pure wax.
- Finish: matte to satin, durable and microporous.
- Best for: floors originally finished in hardwax oil; not a “wax-over-anything” solution.
- Pros: robust, repairable, natural feel.
- Watch-outs: not a spot polish; treat it as a finish, not a quick top-up.
Compatibility tip: If your floor is an oiled or hardwax-oiled surface, maintenance waxes from the same manufacturer family often play nicest. Over lacquer, wax won’t bond in the same way and may streak—test carefully.
Tools & materials you’ll need
- A neutral cleaner suitable for wood floors
- Microfibre mop and lint-free cloths
- Fine pads (white or beige) for hand work; beige/white pads for buffer machines
- Paste or liquid floor wax, colourless or lightly tinted to suit your floor
- Wax sticks (optional) for tiny nicks in matching tones
- Nitrile gloves, good lighting, and patience
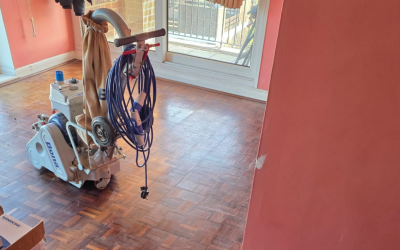
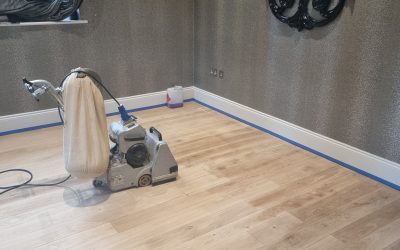
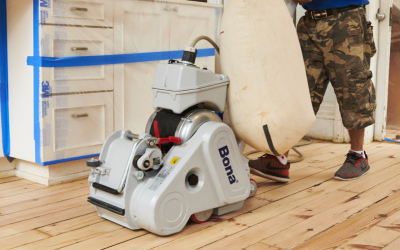
- Orbital/buffer machine (optional but helpful for larger rooms)
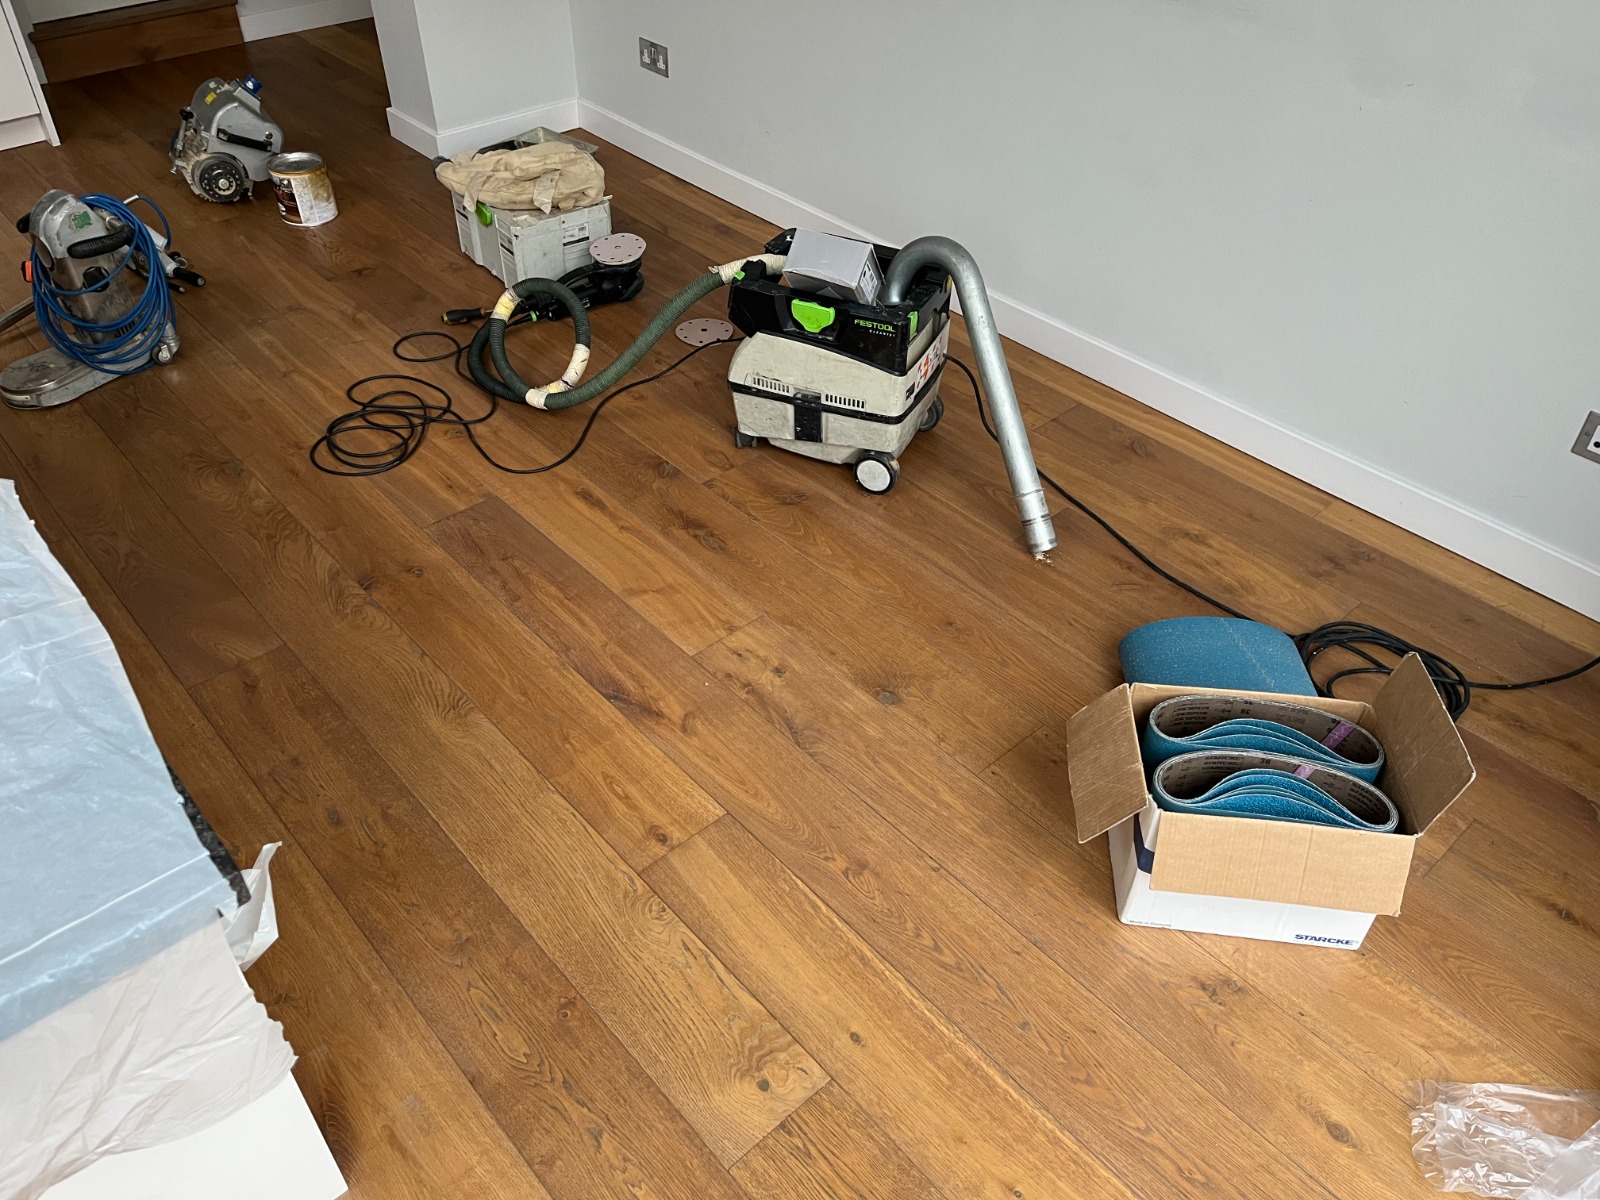
The clean start: preparation is everything
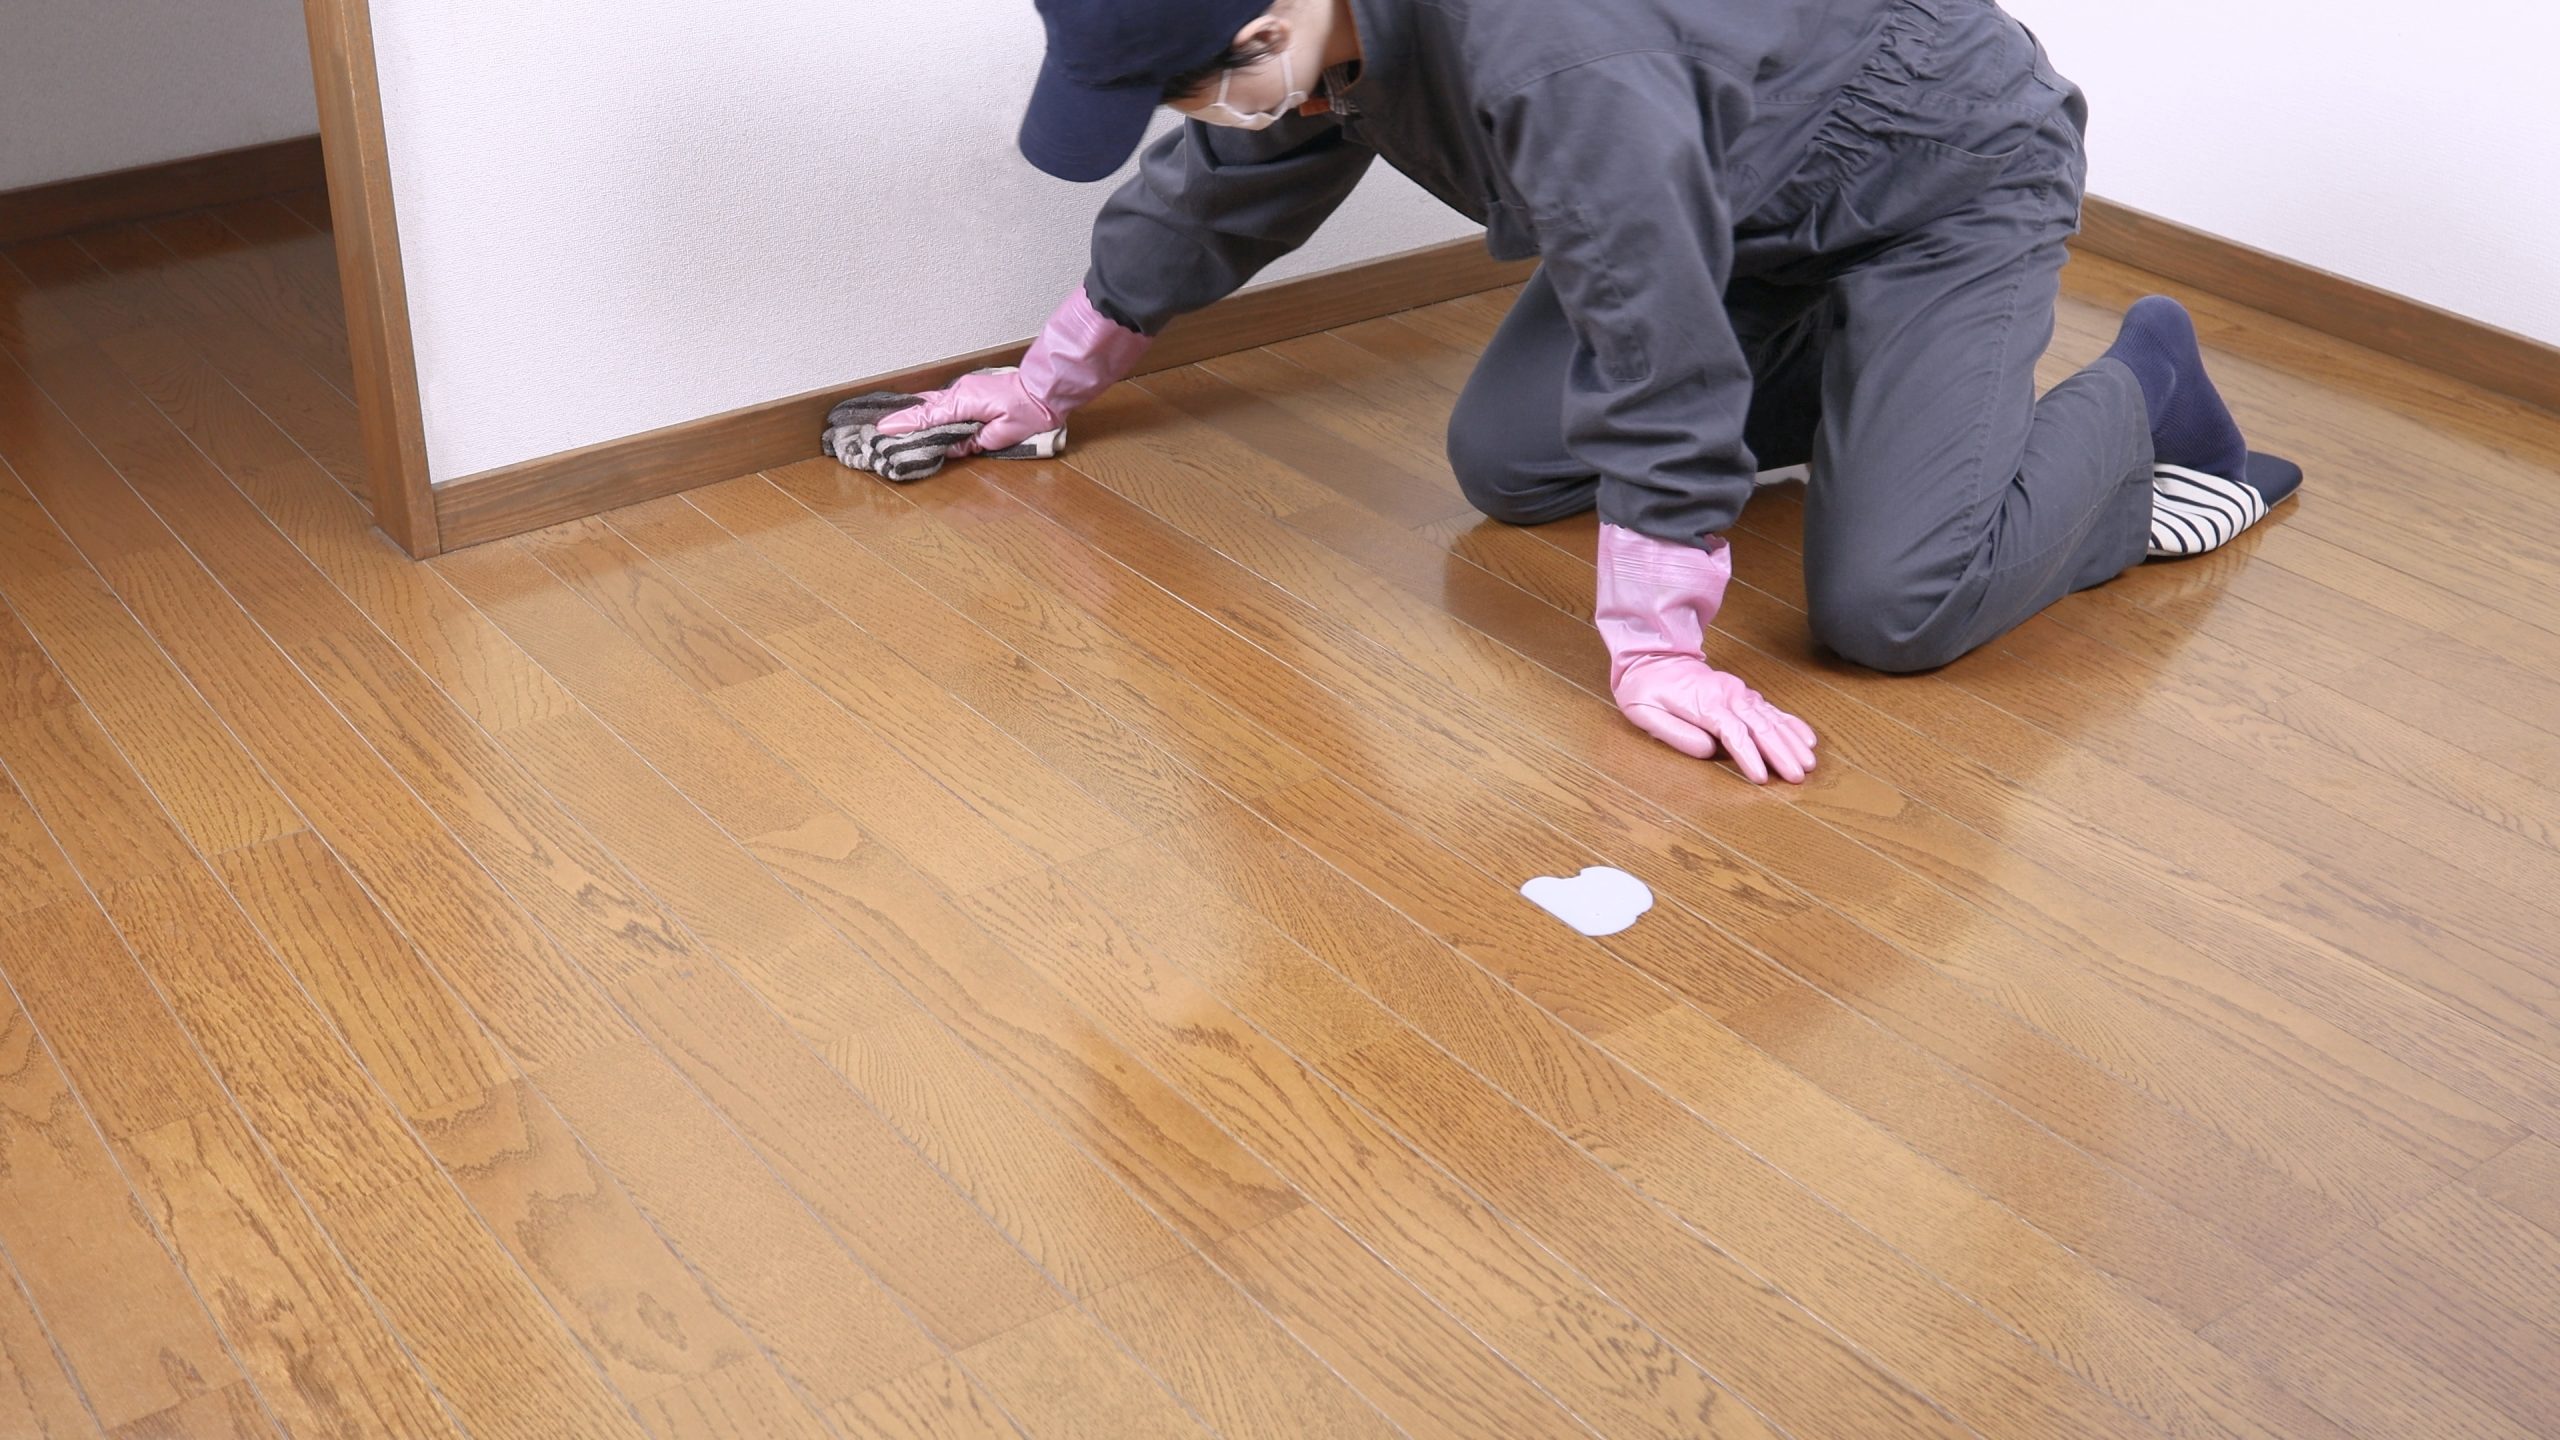
- Vacuum thoroughly, paying attention to edges and under radiators. Grit under wax is a recipe for dull streaks.
- Damp-mop with a neutral cleaner, wringing the mop well. Let the floor dry completely.
- De-gloss local shine spots: if you have patches of over-sheen, buff lightly with a white pad by hand to even the canvas.
- Patch test in a corner: apply your chosen wax to a hand-sized area, buff, and observe in daylight. You’re looking for evenness and a compatible sheen.
This deliberate, test-first approach mirrors the careful ethos behind Furious Fixes, where speed never outruns judgement.
The hand-rubbed method (for small areas)
For entryways, under chairs, and traffic lanes, hand application is often enough.
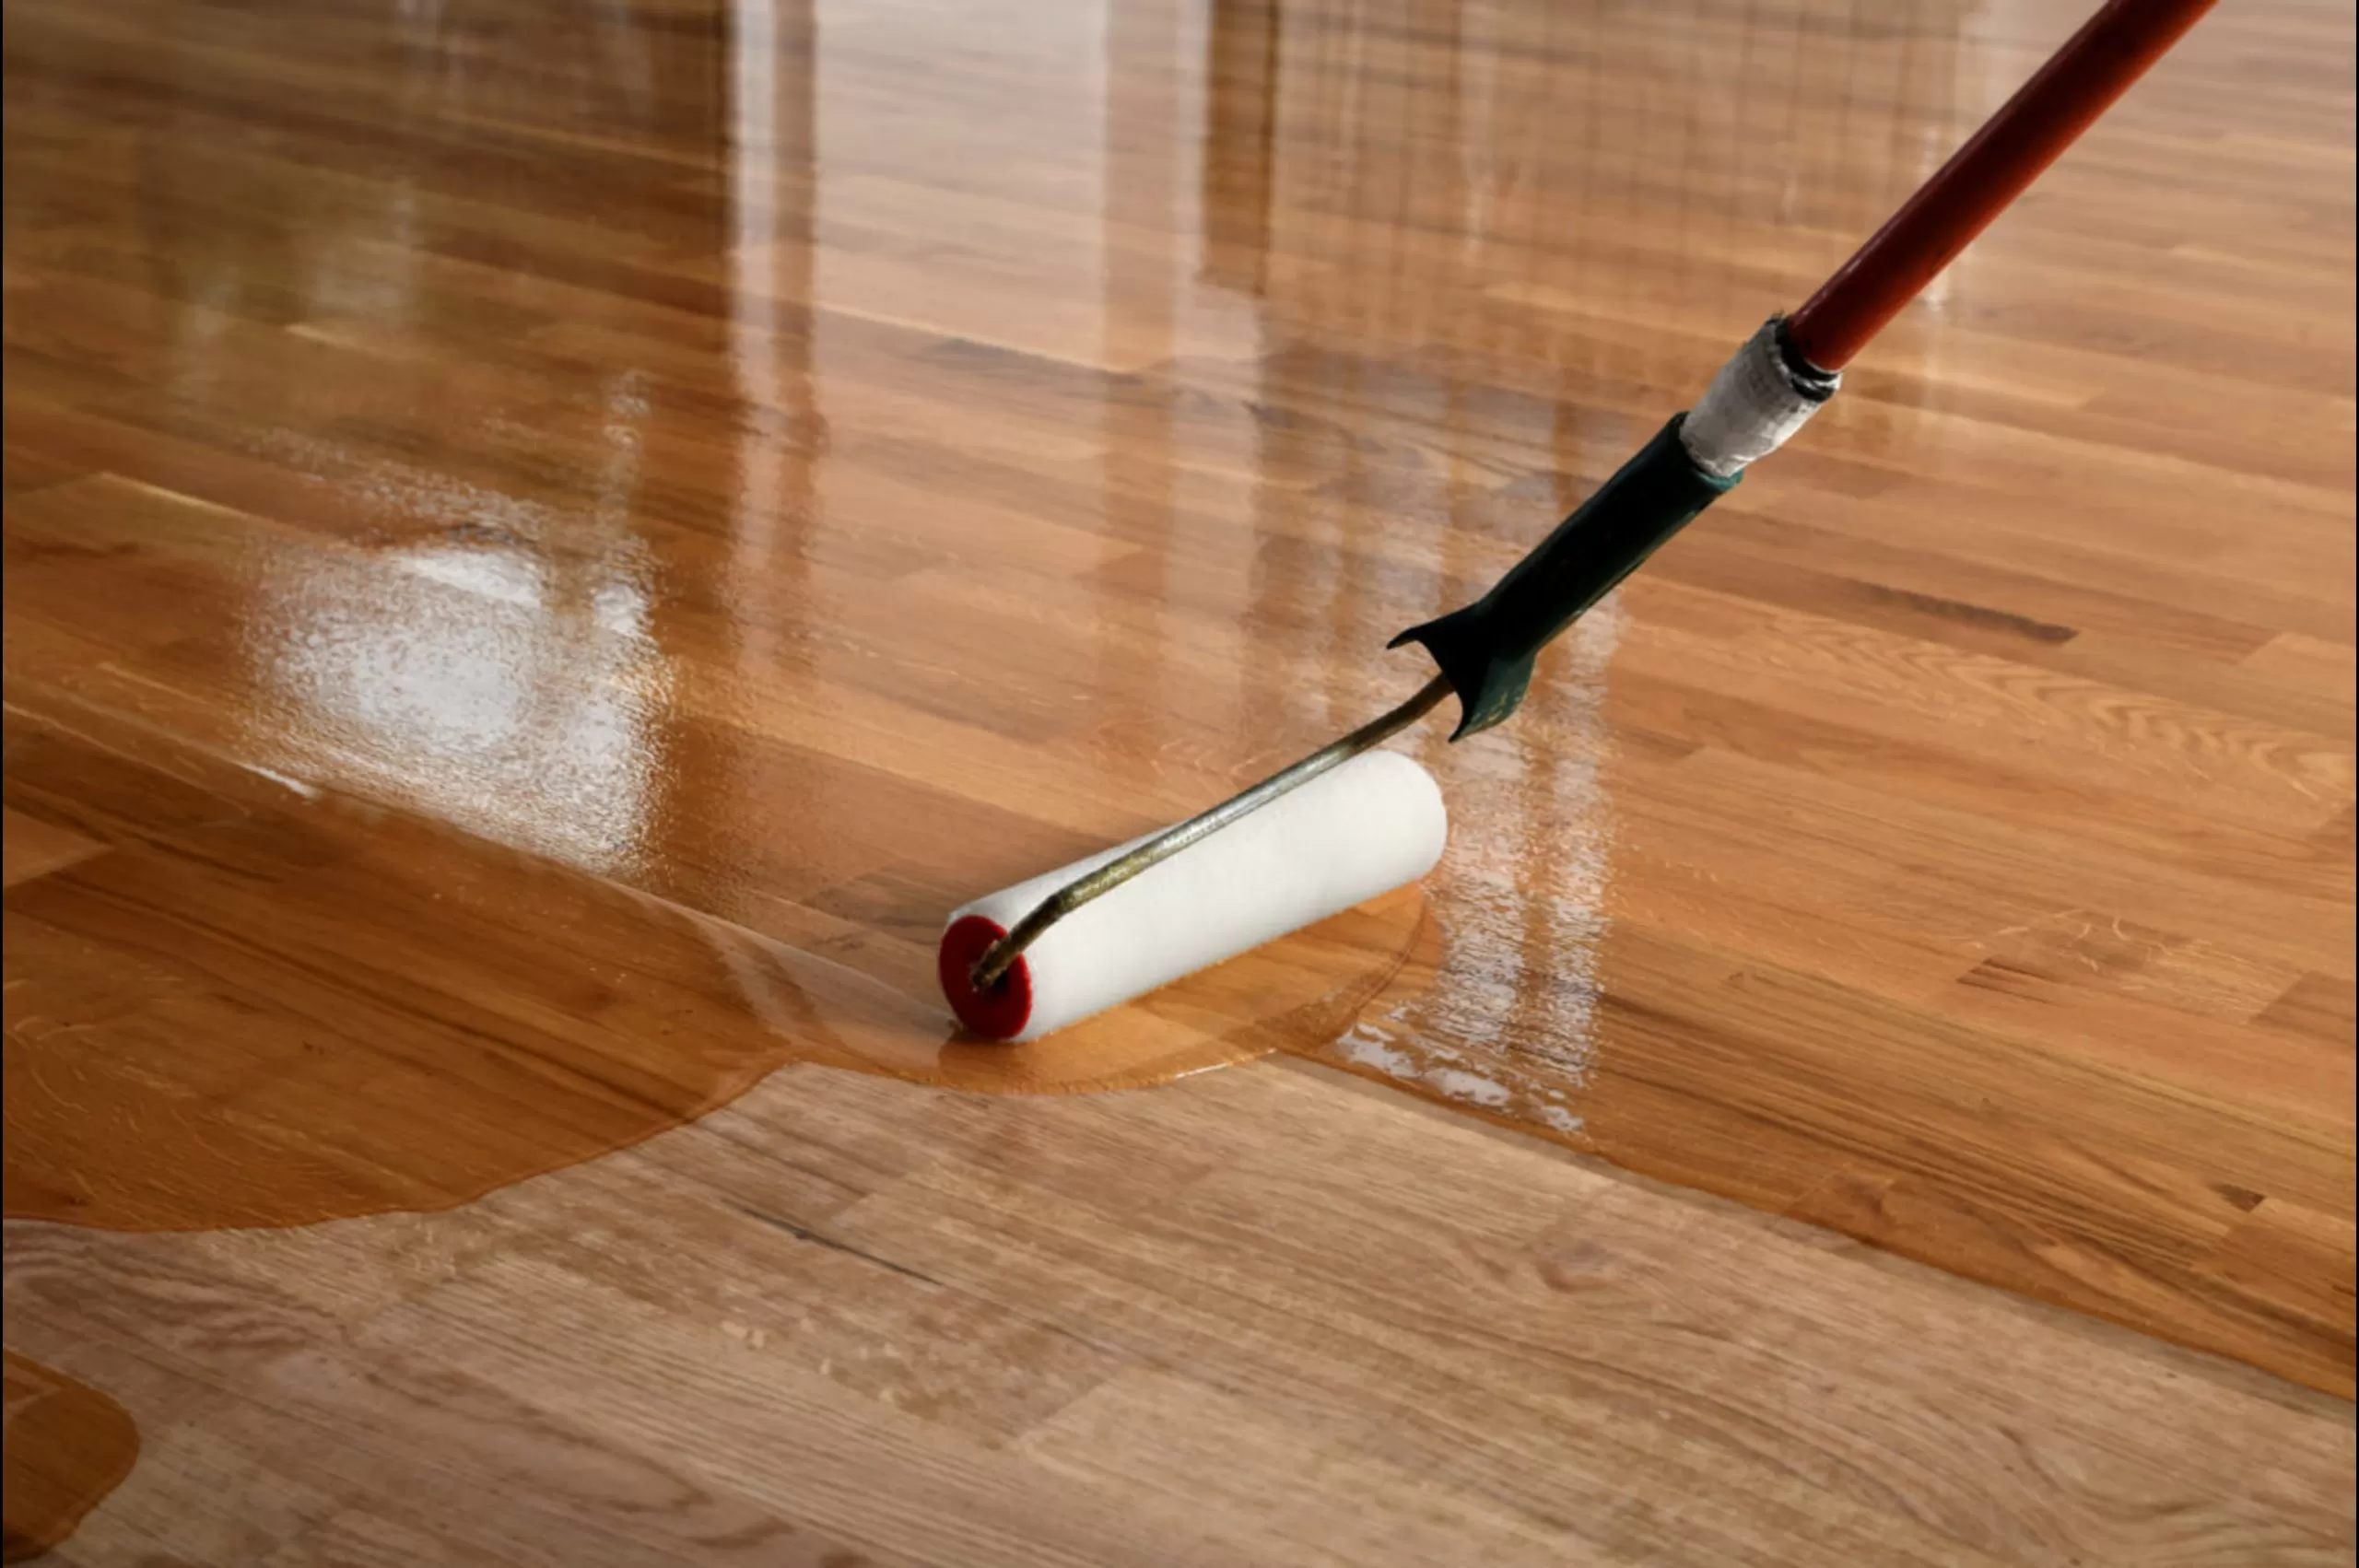
- Load a lint-free cloth with a thumbnail of paste wax (or a light spritz of liquid wax).
- Apply thinly in tight circles, then with the grain to level. Less is more—aim for a whisper, not a layer.
- Wait 5–10 minutes (check product guidance).
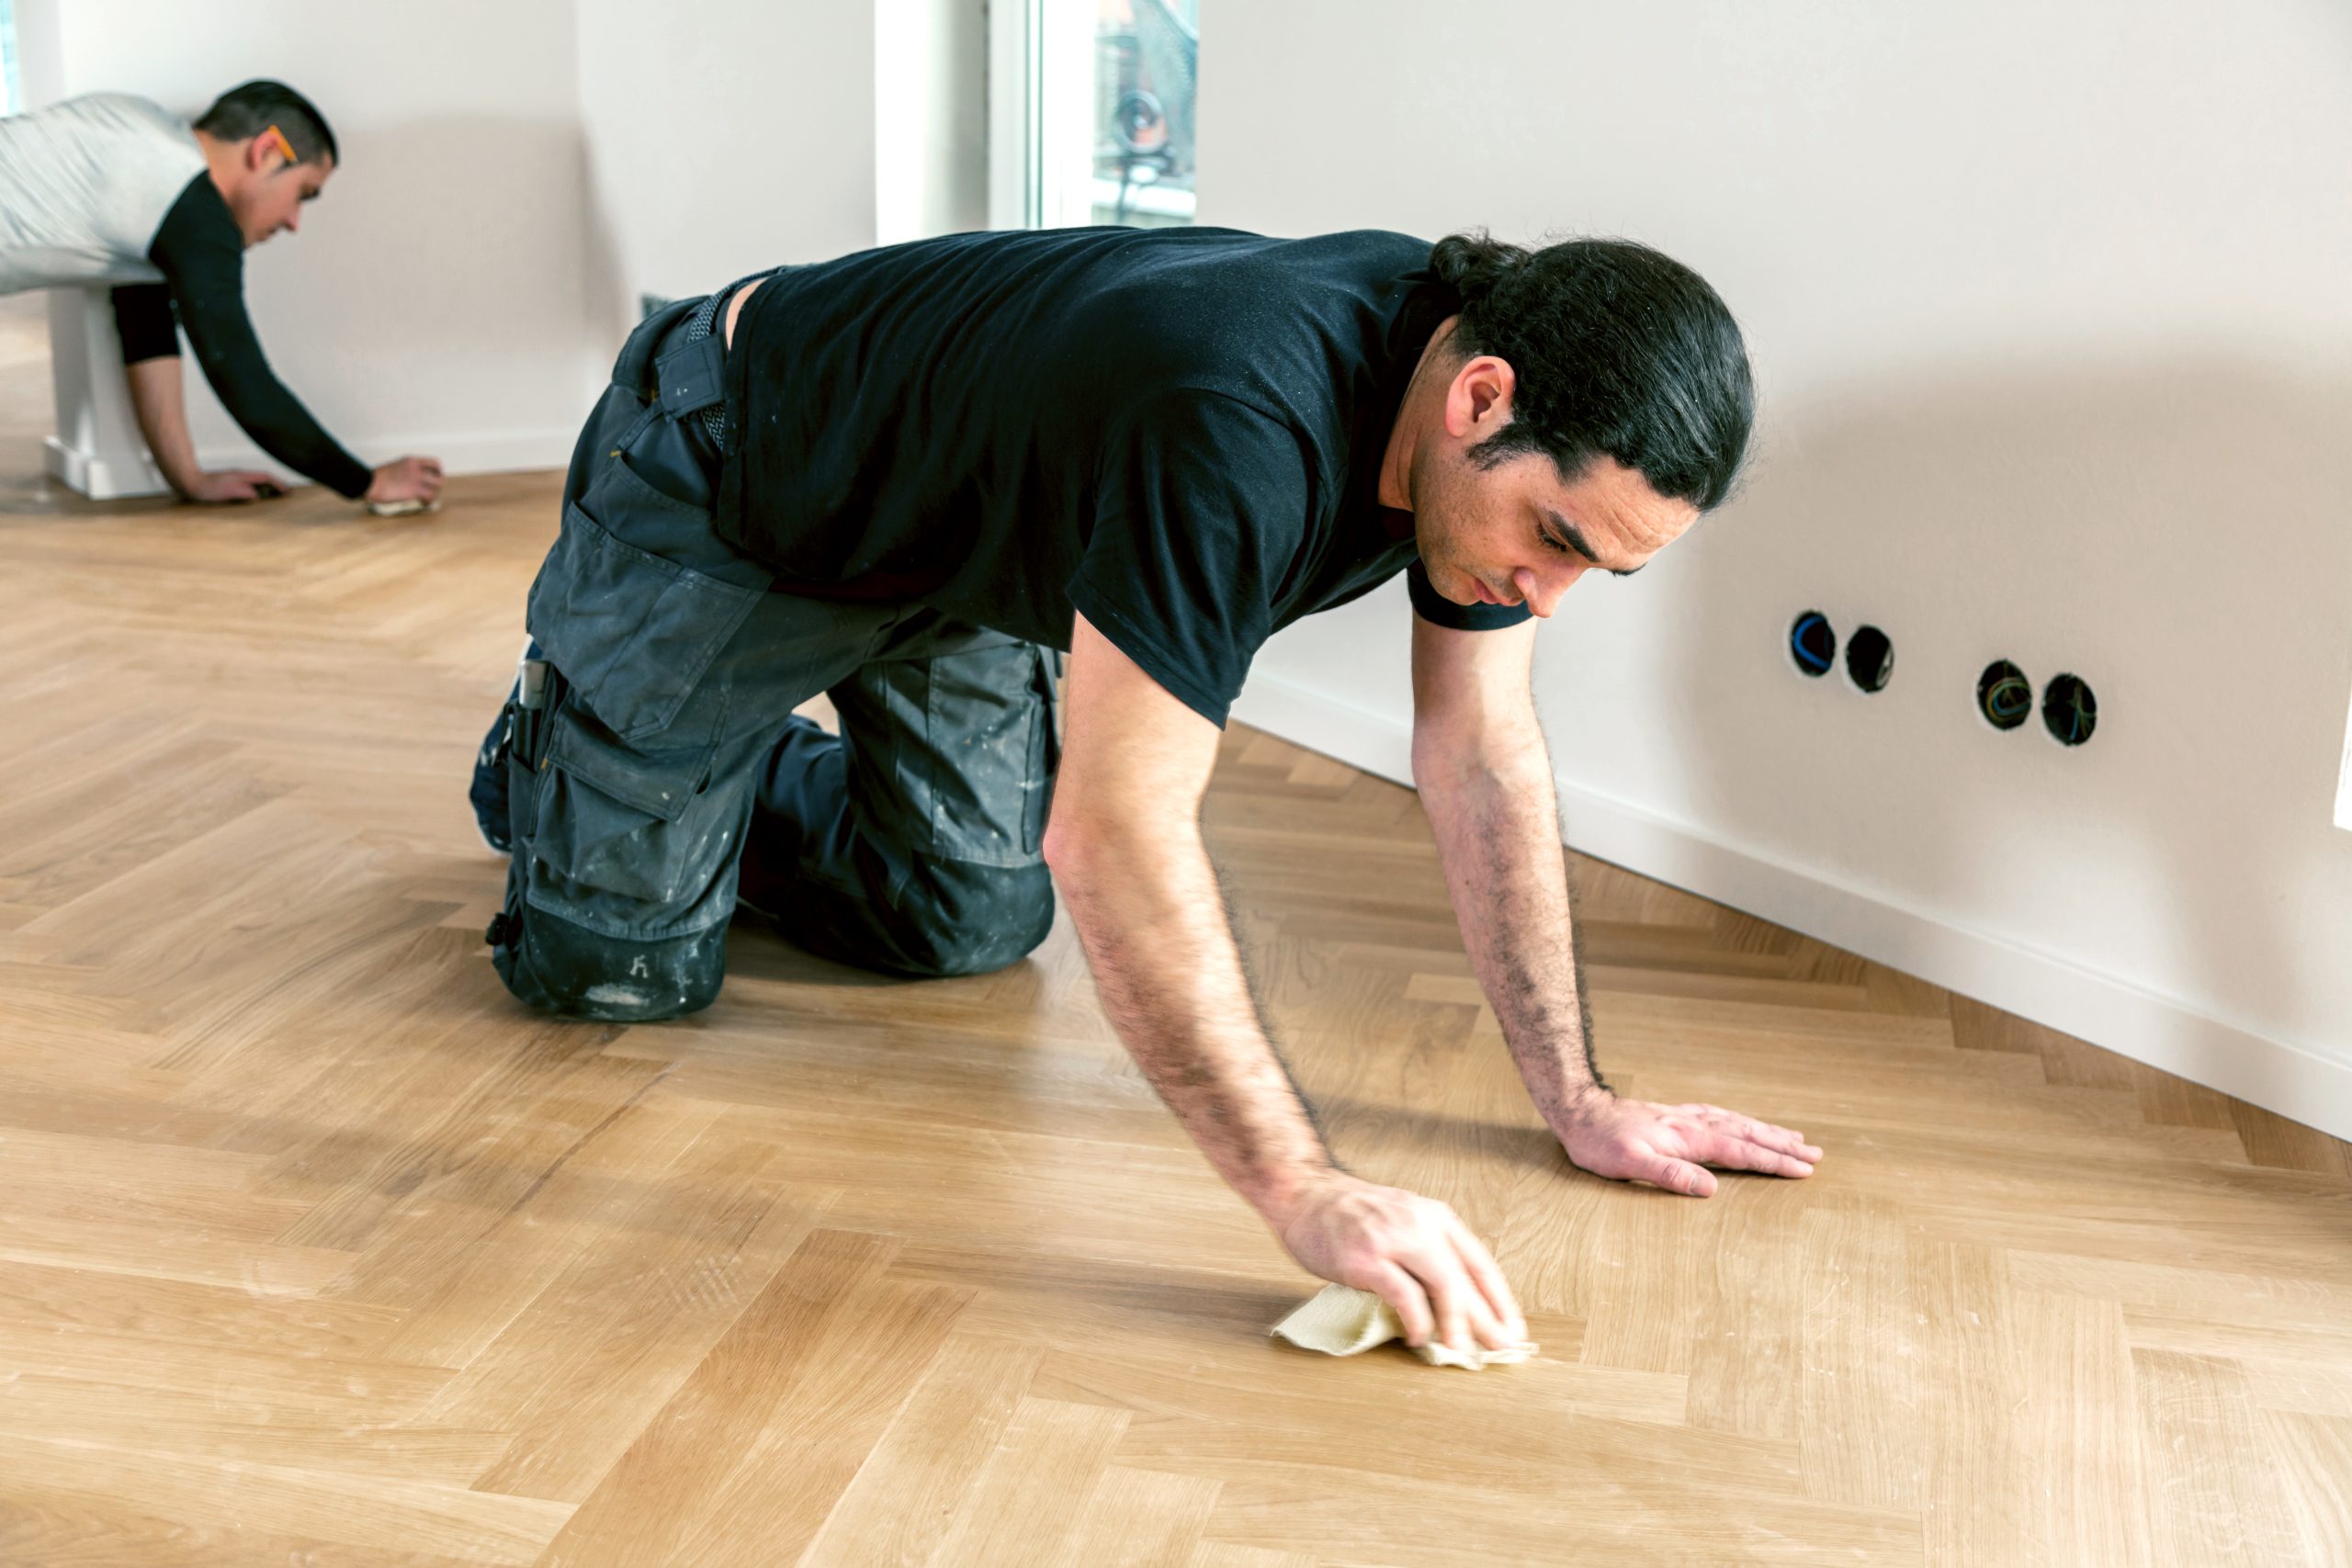
- Buff briskly with a clean cloth or a white pad until the surface flashes from dull to soft sheen.
- Feather the edges into surrounding boards so you can’t see a start/stop line.
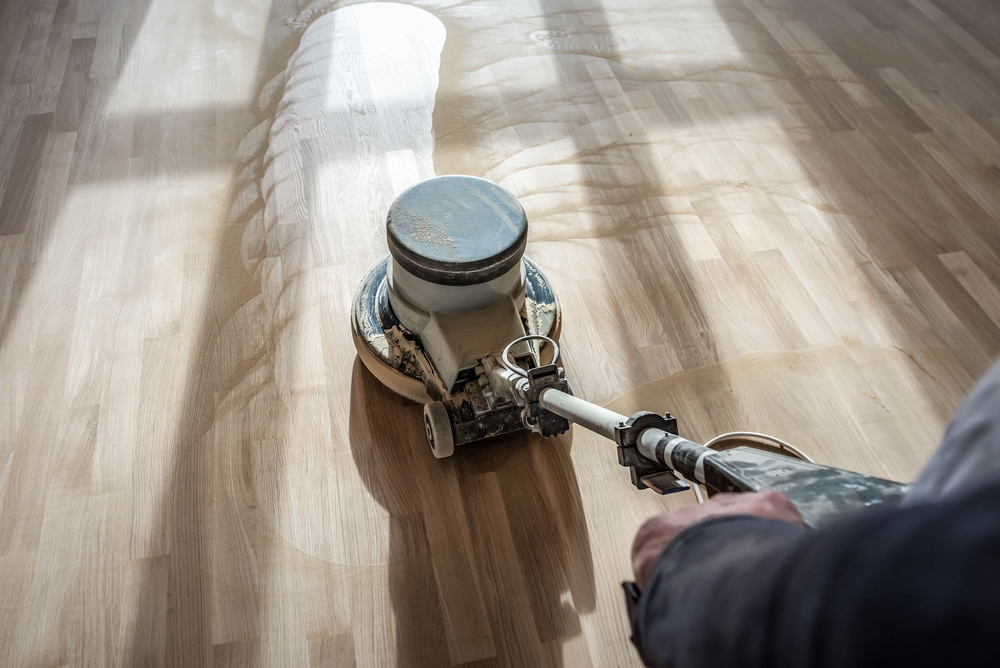
The machine-buff method (for rooms)
- Dot-apply tiny amounts of wax across a 1–2 m² section.
- Work the buffer slowly with a white pad, overlapping passes.
- Change pads as they load up—fresh pads keep the sheen even.
- Stand back and squint: you should see a uniform glow without streaks. If you spot dull hollows, hand-apply a whisper more wax and rebuff.
Use this tidy, test-first checklist as your in-room companion—our disciplined field routine for small wins that add up mirrors the spirit of Furious Fixes.
How wax disguises common floor flaws
1) Hairline scratches
These are usually in the finish, not the wood. Wax fills the micro-grooves and reduces contrast. If a scratch looks pale, lightly tint the area first with a compatible touch-up marker before waxing.
2) Dull traffic lanes
Repeated footfall polishes away micro-sheen rather than cutting deep. A thin wax application, well buffed, brings back continuity so the eye no longer “tracks” a path down the hall.
3) Heel scuffs and chair arcs
Black heel marks respond to a dab of cleaner on a cloth, then a dot of wax. For chair arcs, consider felt pads under legs after treatment to keep the fix intact.
4) Minor white rings or haze
If moisture sneaked under an old wax film, first lift as much as possible with a gentle cleaner and pad. Once dry, a careful re-wax can unify the patch. Stubborn white rings may need specialist attention.
5) Tiny edge chips on old boards
Use a wax repair stick in a matching tone to fill the nick, level with a plastic scraper, then feather wax across the board. The micro-bevel disguises the repair.
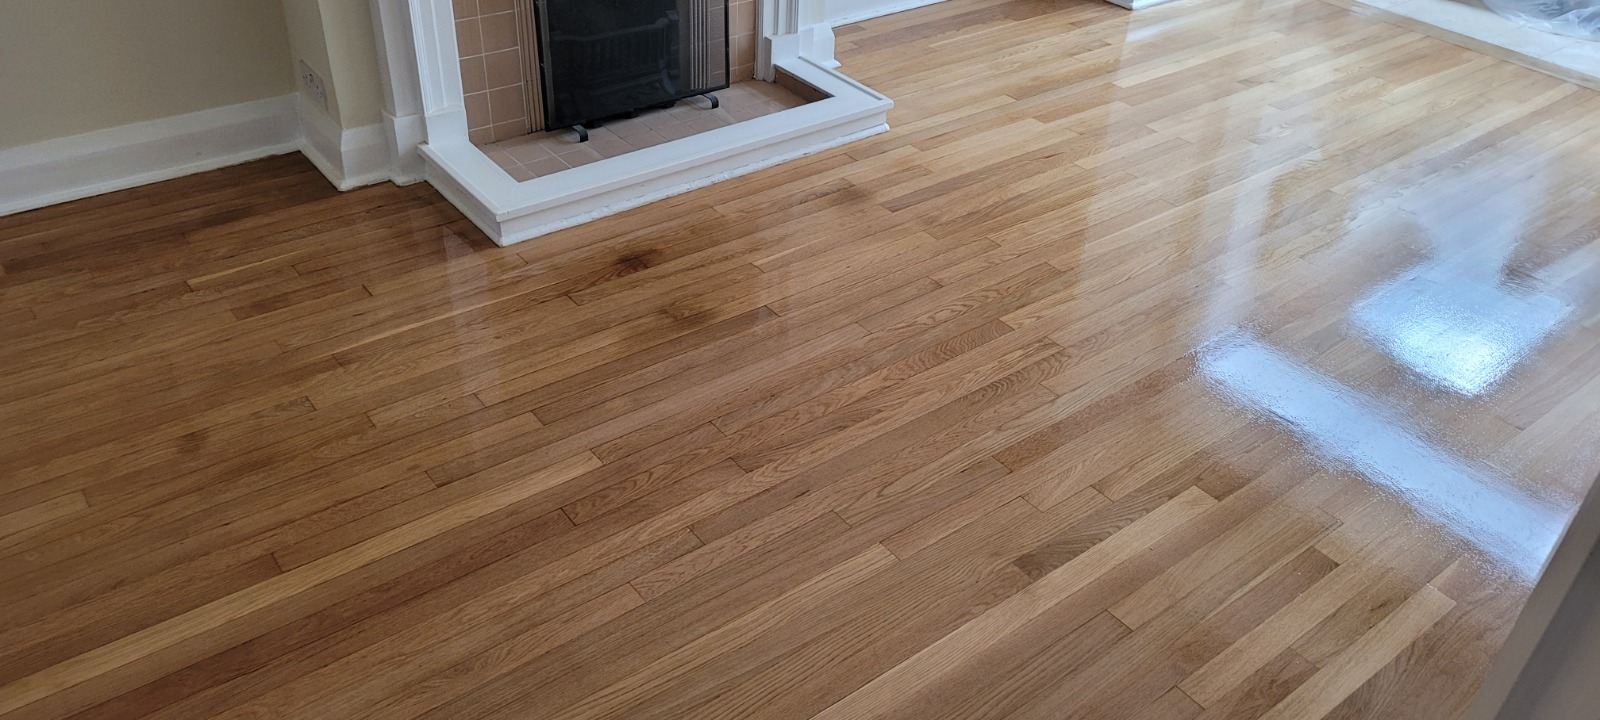
Colour and sheen: the art of blending
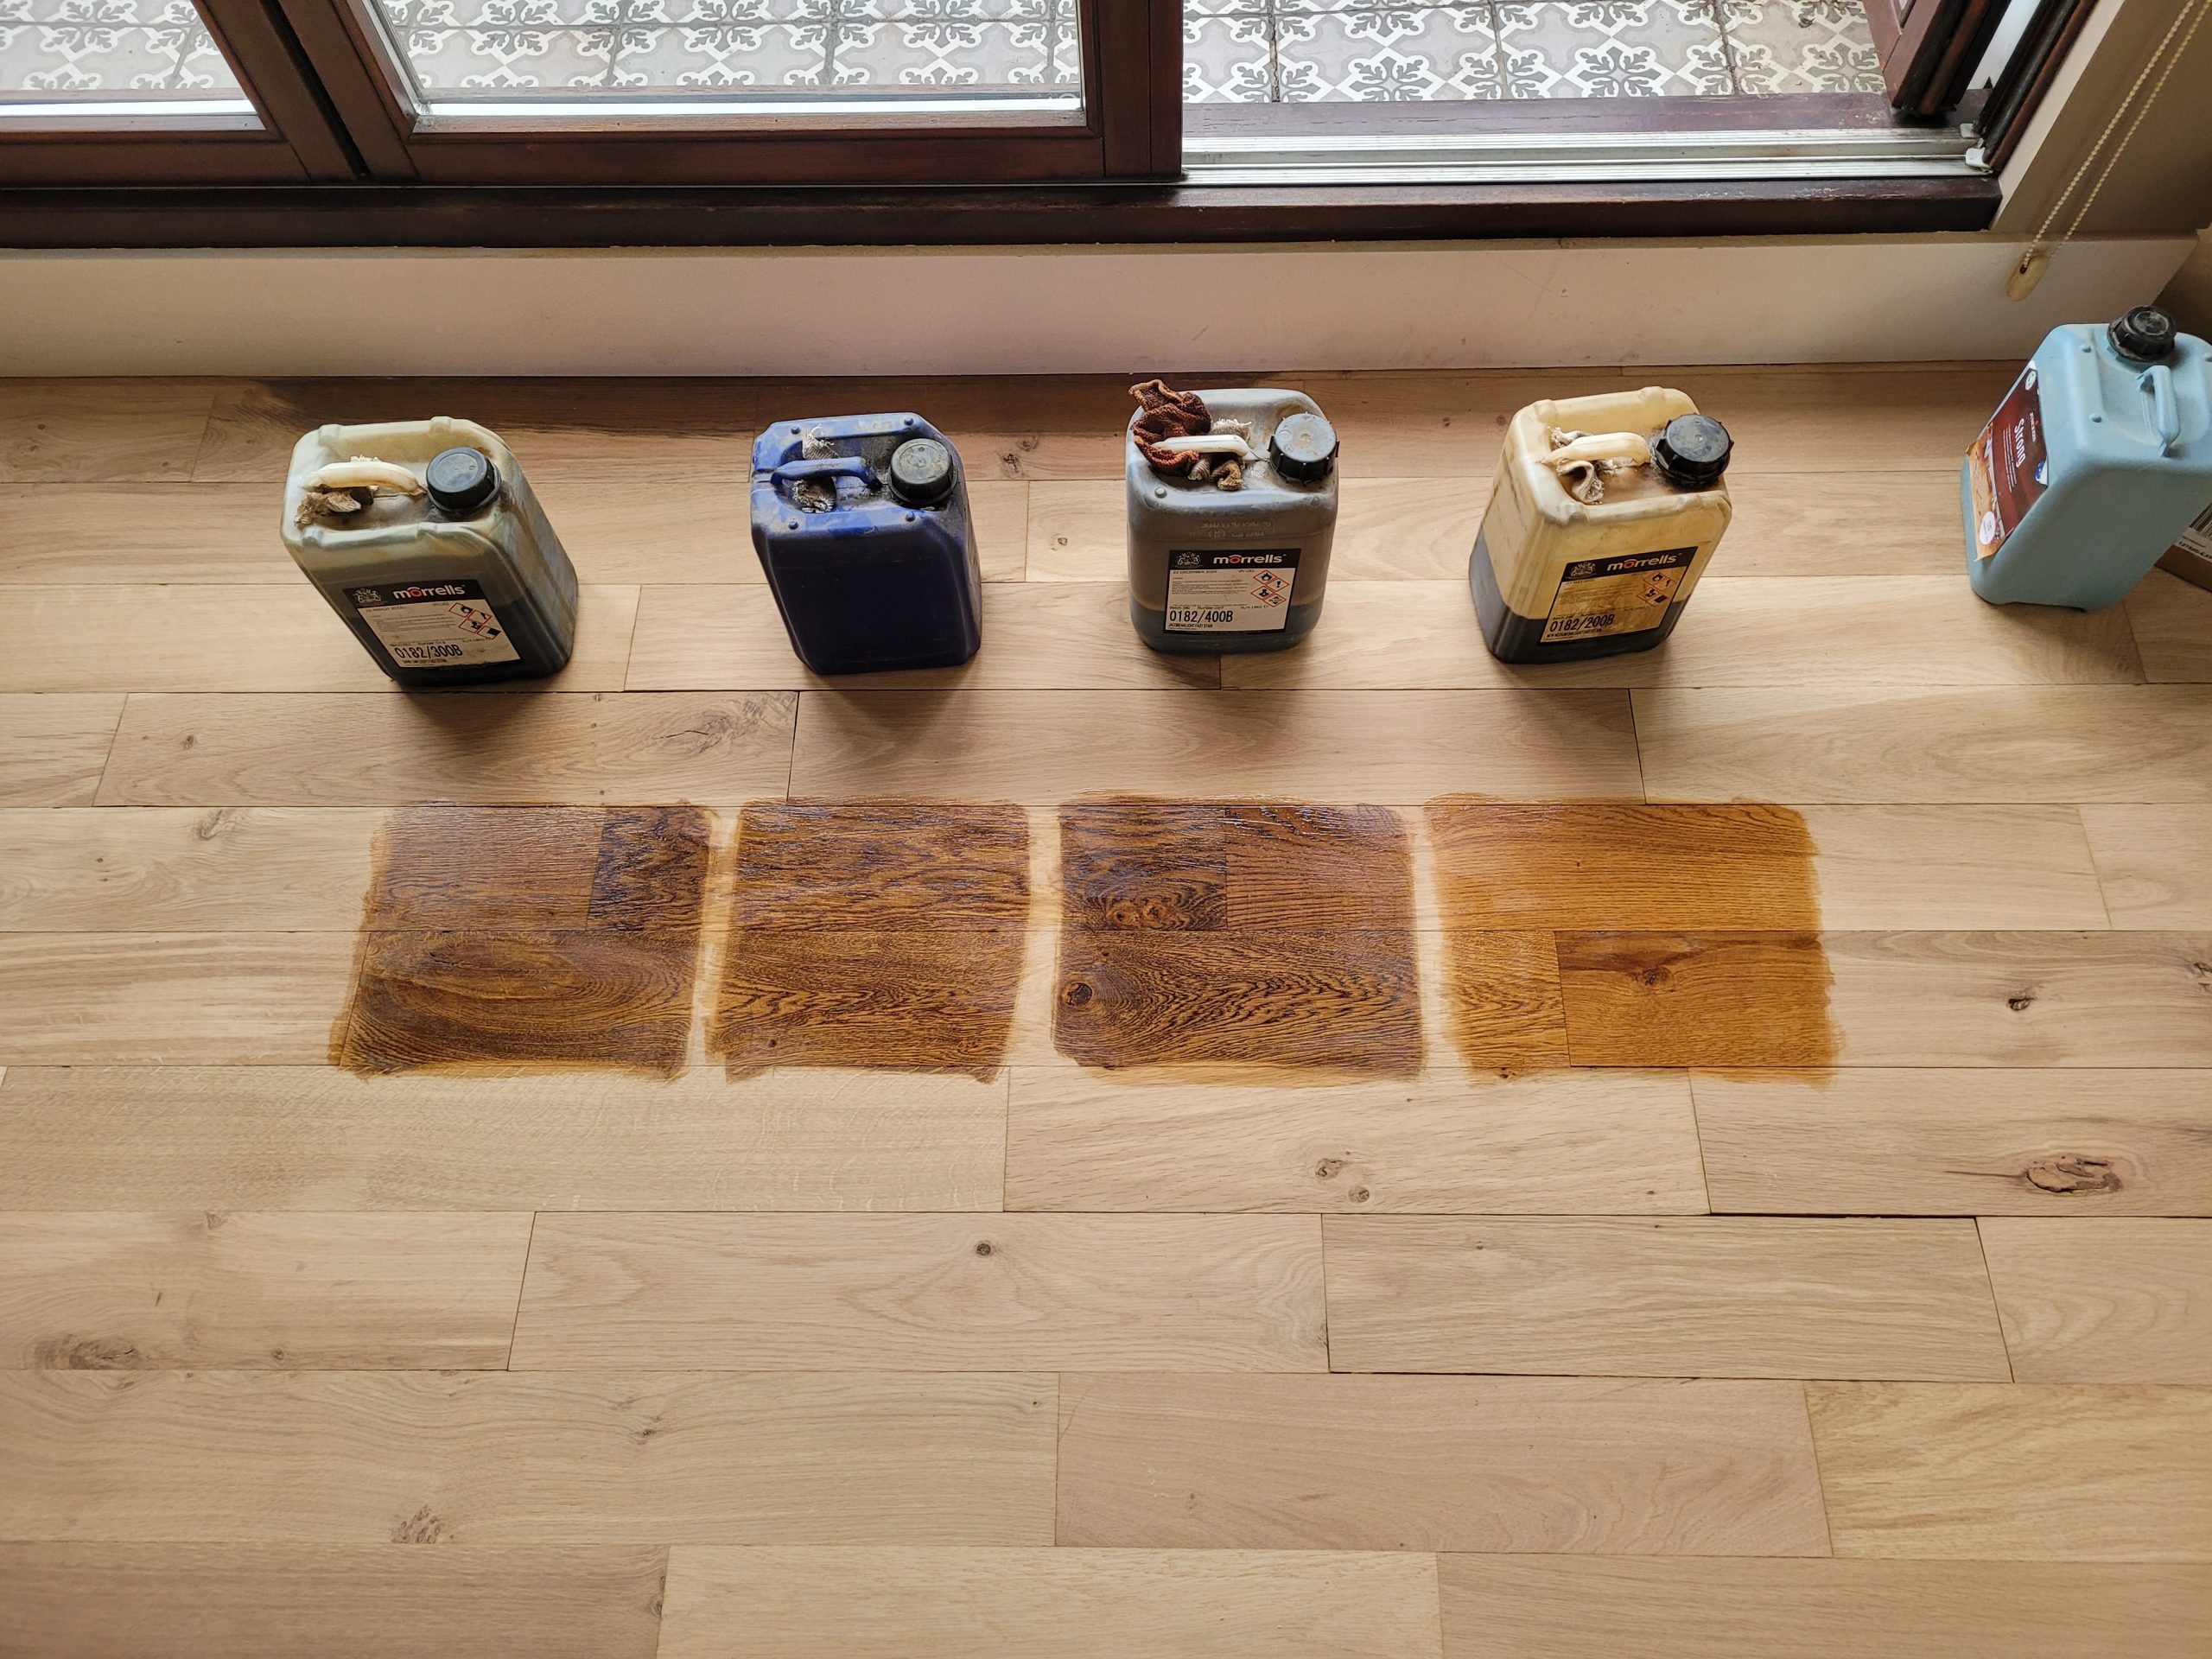
- Colour: Clear wax deepens tone slightly. On pale pines, choose neutral products to avoid ambering; on oak, a touch of warmth can be welcome.
- Sheen: Your goal is consistency, not gloss. If an area looks shiny, you’ve probably over-applied. Buff more before you add more.
- Direction of light matters: always step back and view the floor from the room’s main light source (windows, patio doors). That’s where streaks reveal themselves.
Safety, indoor air quality, and slip
Modern floor waxes are typically low-odour, but ventilation is still wise. Keep pets and children off the floor until fully buffed and touch-dry. Properly applied wax should feel silky, not slippery; over-application is the culprit when it does. If that happens, buff more with a clean pad.
DIY or professional? How to decide
Choose DIY for small rooms, spot repairs, and when you enjoy careful handwork. Bring in a professional when you need to blend multiple rooms, handle pattern parquet, or manage unknown existing finishes. If your floor has a patchy history (bits of lacquer, bits of oil), a pro can test, strip, or unify before waxing so you don’t trap problems under a cosmetic coat. For larger projects around Surrey or nearby, the pragmatic, prep-first mindset baked into Furious Fixes tends to deliver the calmest outcomes with the least fuss.
Ten mistakes to avoid
- Skipping the clean: grit under wax = grey, streaky results.
- Using too much: keep it whisper-thin; build with buffing, not globbing.
- Ignoring edges: feather into skirting lines and door thresholds.
- Rushing the dwell: give the solvent a moment to flash before buffing.
- Mixing chemistries: don’t wax over fresh lacquer.
- Dirty pads: clogged pads smear. Swap them often.
- Wrong cloths: lint belongs on teddy bears, not in wax films.
- No patch test: every floor is different—follow the cautious rhythm we use in Furious Fixes.
- Buffing in stripes: overlap passes so the sheen blends.
- Forgetting lighting: check from several angles; daylight is honest.
Aftercare: keep that glow
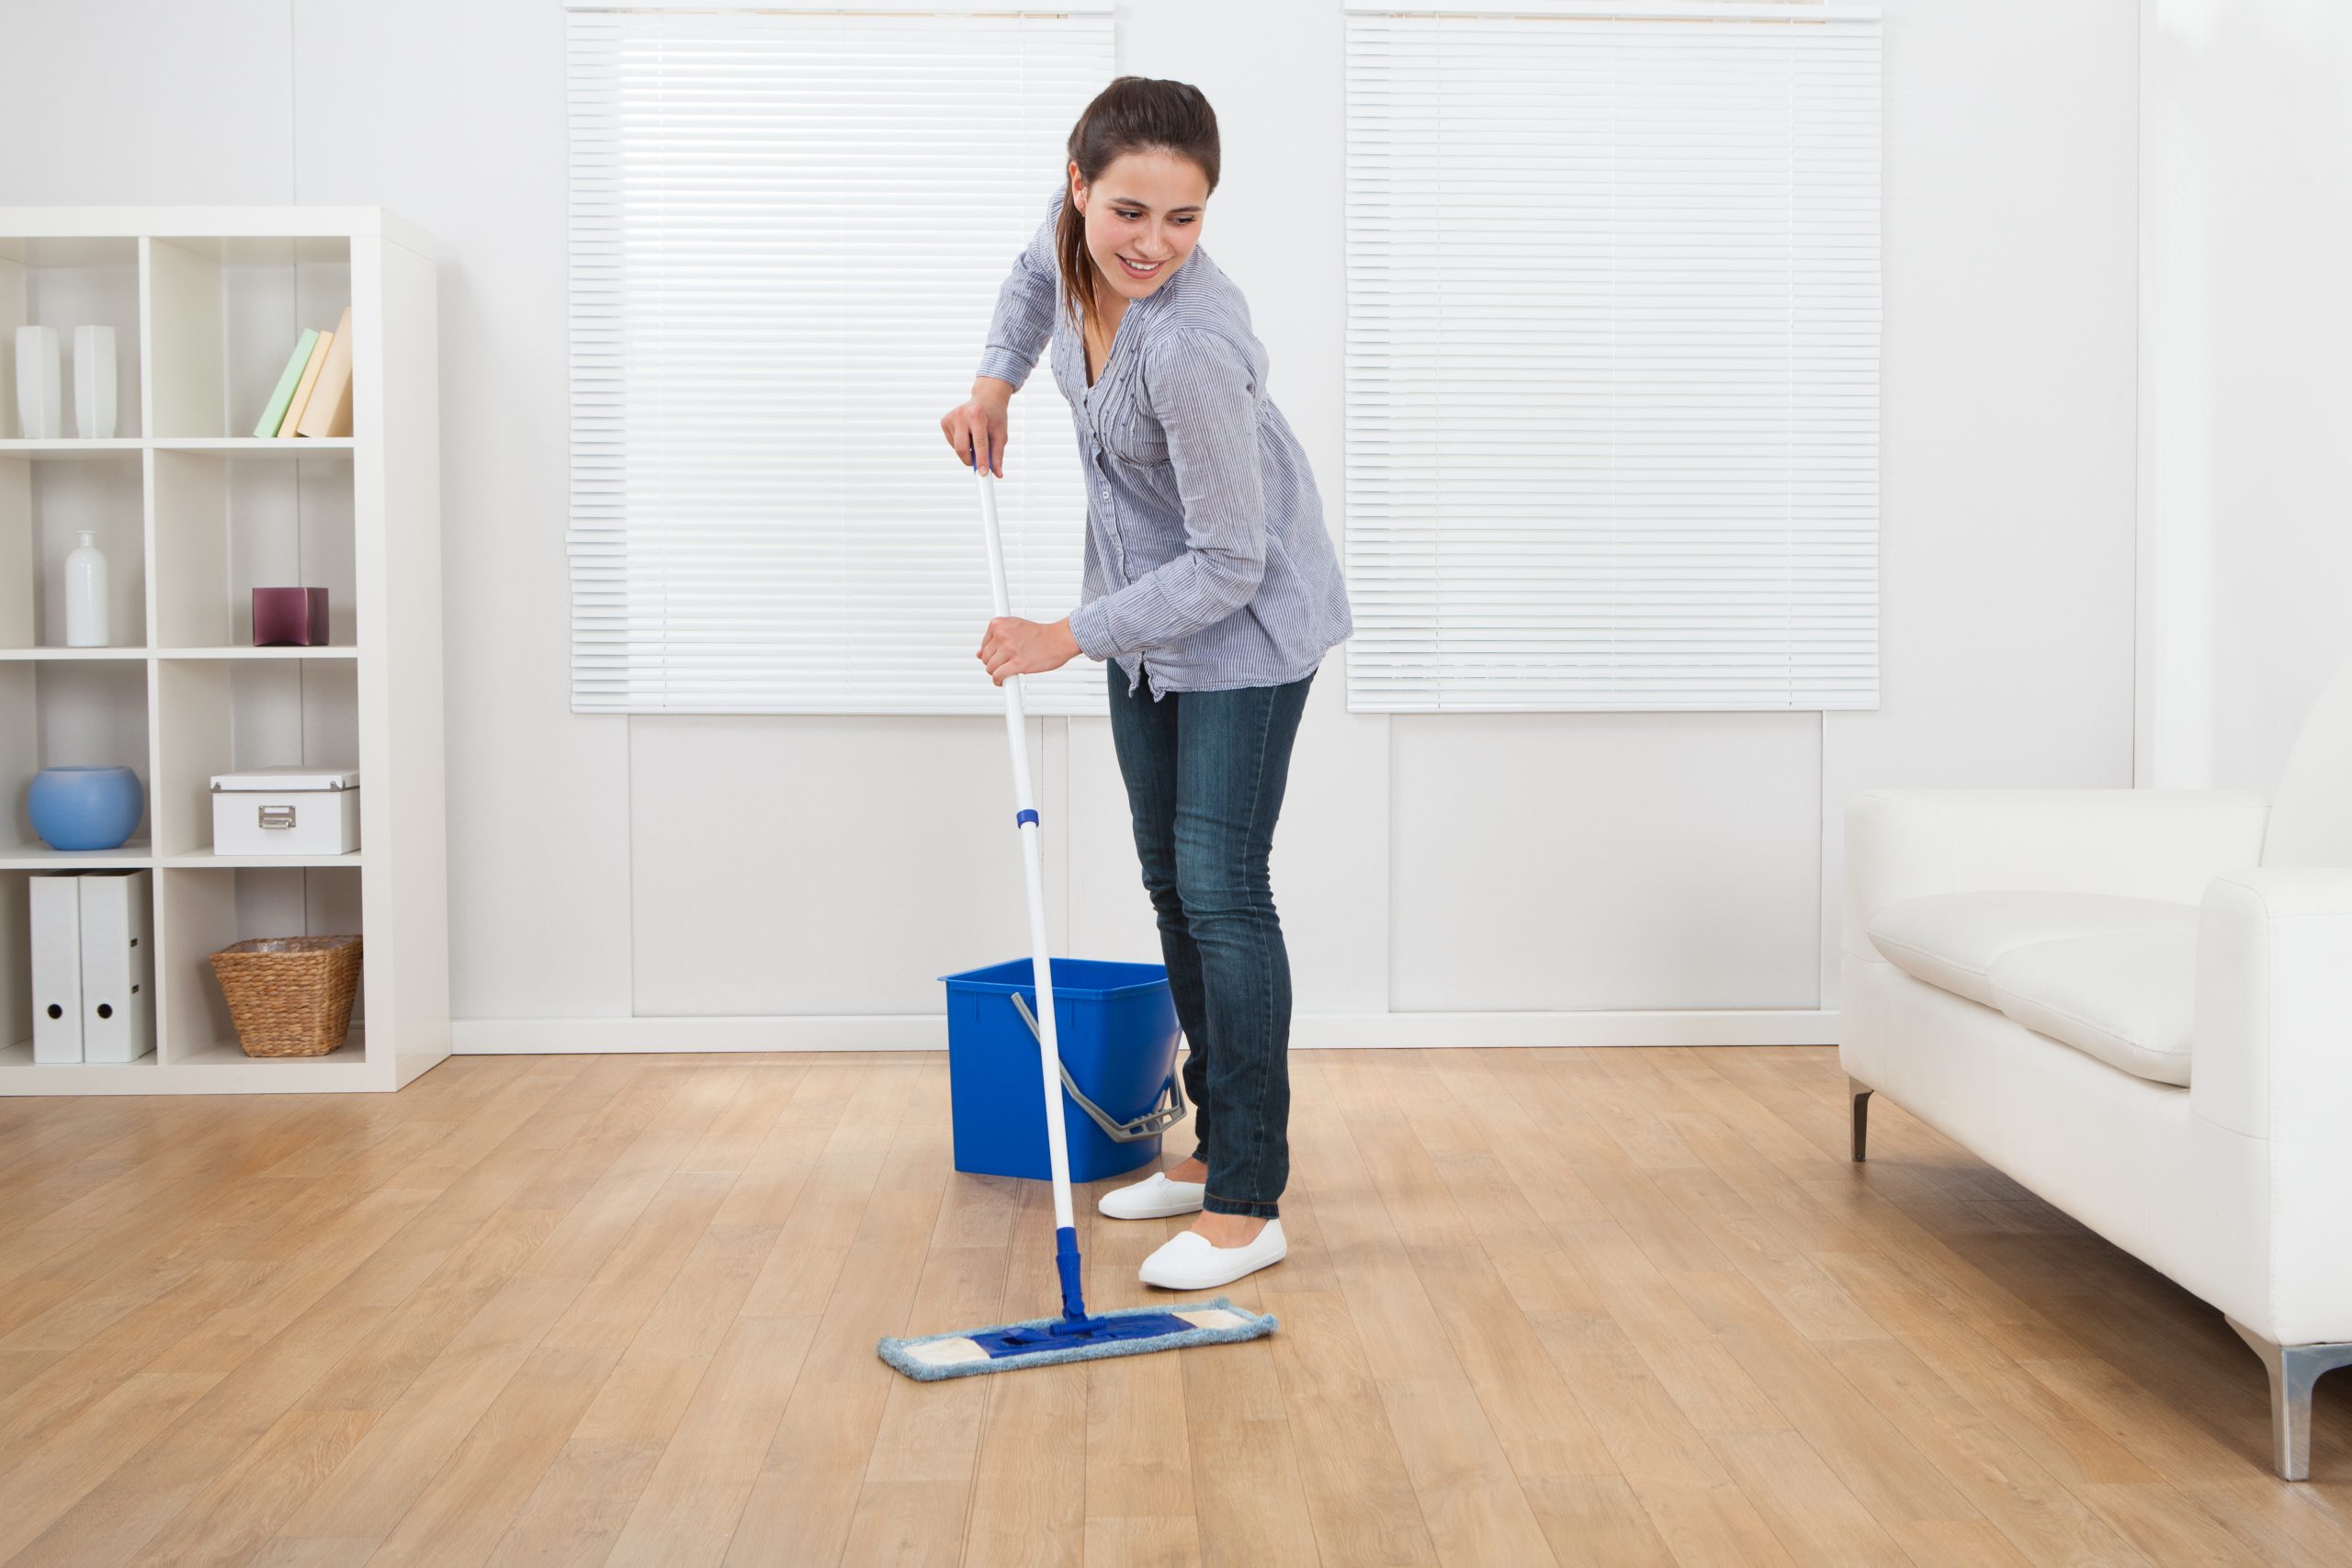
- Dry maintenance first: dust with a microfibre mop two or three times a week.
- Damp sparingly: stick to neutral cleaners and well-wrung mops.
- Traffic control: keep mats at entrances and felt under furniture.
- Spot top-ups: when a patch looks tired, address just that patch—then feather out into surrounding boards.
- Periodic full-room buff: depending on footfall, a light wax-and-buff every 6–12 months keeps the finish even.
What about engineered boards and parquet?
Engineered boards finished in oil or hardwax oil usually welcome maintenance waxes—so long as you stay within the same product family. Pre-finished lacquered engineered boards are less wax-friendly. Always test.
Parquet loves a low-sheen, hand-rubbed character. Because parquet reflects light in multiple directions, consistent buffing is vital—work in small zones and review from the doorway.
Cost, time, and expectations
- Time: a tidy hallway (8–10 m²) is a 1–2 hour job including prep and buffing; a lounge can be half a day if you’re methodical.
- Cost: quality wax and pads for a typical home project often sit comfortably under the cost of a full professional re-sand, making wax a great value “refresh”.
- Expectation: wax won’t erase deep damage, but it will make your floor read as cared-for, calmer, and more coherent—what most eyes notice first.
Frequently asked questions
Will waxing make my floor slippery?
Not if applied thinly and buffed properly. A heavy, greasy film is the enemy; a whisper-thin coat creates a gentle, confident glide.
Can I wax over polyurethane (lacquer)?
Technically you can deposit wax on it, but it’s rarely ideal and can complicate future recoating. If you plan to re-lacquer later, avoid waxing.
How often should I re-wax?
High-traffic lanes may appreciate attention every few months. Elsewhere, once or twice a year is ample.
Can wax hide deep scratches or gaps?
No—wax softens the look of surface wear. Deep defects need repair, filling, or sanding before any cosmetic work.
Is coloured wax a good idea?
Lightly tinted wax can help tone down pale scuffs on darker floors. Patch test first—tints can catch in open grain.
A note on sustainability
Many modern waxes prioritise low-VOC carriers and naturally derived waxes like beeswax and carnauba. They’re also repair-friendly: spot maintenance extends the life of the floor and delays bigger, more resource-intensive interventions. As ever, disposal matters—let solventy rags dry flat outdoors before binning to avoid any risk of self-heating.
Local conditions: what trips people up in British homes
- Central heating cycles dry the air in winter; boards shrink slightly and micro-gaps appear. Wax can visually soften those fine lines without trying to “glue” anything shut.
- Garden doors bring grit; keep a brush mat outside and a microfibre runner inside.
- Pine floors in older homes can be soft: prevent micro-scratches with felt pads and keep claws clipped on four-legged family members.
Bringing it all together
A well-waxed floor doesn’t shout “new”; it whispers “well kept”. It’s about calming the visual noise so your eye reads grain, light, and space—not scuffs and streaks. Take time on the clean, be sparing with product, buff more than you think, and check from the doorway in daylight. That’s the winning rhythm.
If you reach a point where DIY caution whispers “Get a second opinion”, trust that instinct. A short professional visit to test finishes, choose a compatible product, and set you up with the right pads can save a lot of elbow and angst.
Ready when you are
If you want a swift, tidy refresh that favours brains over brawn, the prep-first philosophy behind Furious Fixes is designed for exactly this kind of spruce-up—small interventions that make a big difference.